Photo bashing blog 1
- kt1g19
- Jun 2, 2021
- 3 min read
Updated: Jun 3, 2021
when it came to ideas for the first photo bashing I thought of something in my head can be used, which were a man wandering in the desert at night time, now that I had this vision in my head about what the design will look like in my head I started sketching out and it came out like this for the sketch.

I used are procreate to make the sketch start of the HB pencil and sketch the mountains with the moon at the top and on the ground there was a pathway with a man with rugged clothing walking across the desert, but I want to get the shading right so I more or less used greyscale for it, I used the syrup pen to make the real greyscale shadings and then for the sky, for the starts I used the snow tool, once I was confident enough that this is the image I wanted I started searching on the Internet for the picture, I found two moons, some mountains and a desert for the ground for the man in rugged clothes. I used the protagonist of journey, the particular picture had the protagonists looking forward, looking at something in the horizon, I found a galaxy picture online as well and I included the into the photo bashing this is my process behind the photo bashing.

So I started with the picture with the desert and aligned it with the canvas, after that I added the mountains and cut the background of those mountains and aligned it with the top part of the desert, so the mountain will look like it’s on the horizon and for the mountains at the top I decreased the size so it would look like it’s from a distance. After the mountains were completed I added the moon into the picture and then I cut the background of the moon, then I included the galaxy picture and put that behind the moon and behind the top mountains so look like the background sky.
I then added the journey protagonist into the picture in photoshop there is a tool called match colour this tool will match multiple pictures with one another when it comes to colours, so for example let’s say you had a banana and apple and if you wanted the banana to have same colour as the apple you use the match colour and then the banana will be red.
I used the matched colour because the setting of the picture was suppose to be at night time, so it wouldn’t really make sense to have the photobashing picture be at daytime, so I used one of the moons and such desaturated it to make it look blue and then used the match colour for all the other pictures so that the entire picture will look blue. However I wanted the blue to have different shades of blue because there are certain image certain objects, that are in certain distances so one object will look darker blue in the distance because so far away, so I got one of the mountains desaturate desaturated even further so the like a dark blue and then I match the colours with the three other mountains and then used the paint tool darker blue, and I painted dark blue across the top part of the picture social contrast from the top mountains to the bottom which has more than light blue.
With that done that was my first attempt creating a photo bashing picture I think for my first time it went pretty well and the picture itself looks very dark so you can’t really see what is going on in the picture, it looks very misty to me but I think went pretty well so for the next attempts want to try mountains again but with the character standing on top of a rock looking at the horizon with mountains in the distance.
References
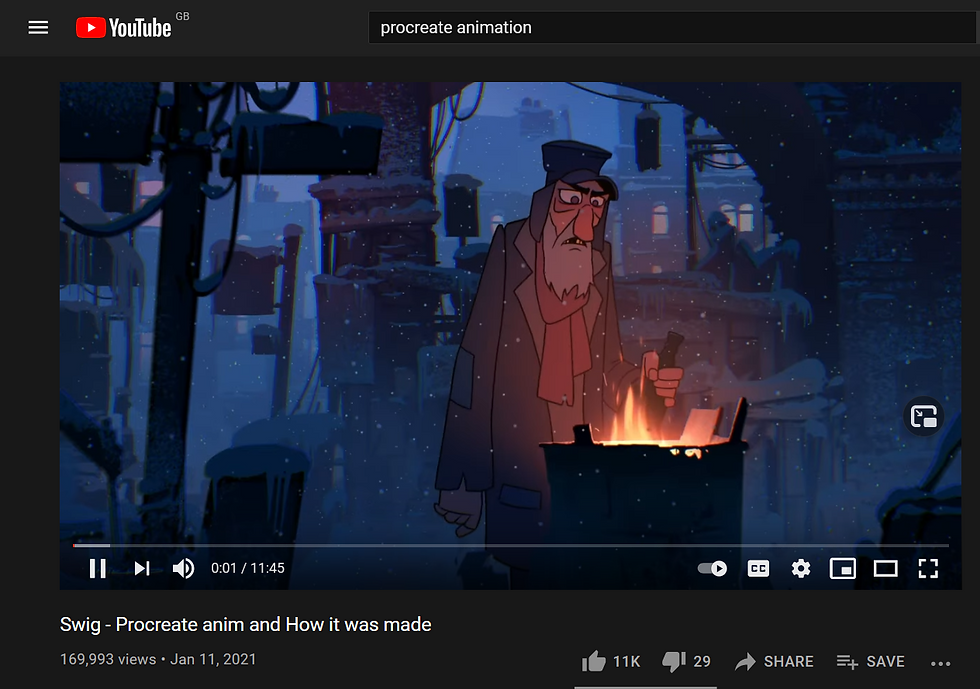
Awan, I., 2021. Cheat at Digital Art - Photobashing Concept Art Tutorial Photoshop. [online] Youtube.com. Available at: <https://www.youtube.com/watch?v=hiPiZOLA0As&t=85s> [Accessed 3 June 2021].
Comments